Sep. 22, 2023
Welcome to the CSGI600 engine installation and testing teaching video series. In this episode, we will introduce engine testing.
The test bench needs to be horizontally fixed and can be fixed on the iron platform or ground by using fixtures and bolts. If tested off site, counterweights or weights need to be fixed.
Pour fuel with a mixture ratio of 1:30 into the fuel tank.
Insert the return port of the oil circuit into the fuel tank.
In the ignition switch and electric start control box, the red emergency switch is the ignition switch, pressed to the "ignition off" state, and popped up to the "ignition on" state. The green button is the electric start switch, pressed to the "motor start" state, and popped up to the "motor stop" state.
Attention: In case of emergency during the testing process, the engine can be shut down and stopped by pressing the emergency switch.
Confirm that the ignition switch is in the "ignition off" state, close the control box, and install the hand screws to make the control box in an unauthorized state.
Attention: Before engine testing, it is important to ensure that no personnel are near the testing area, especially in the propeller area!
Power on the ECU
Power on the fuel pump
Power on the starting motor
Connecting the ECU communication port
Insert the USB port into the ECU control computer.
Open ECU control software.
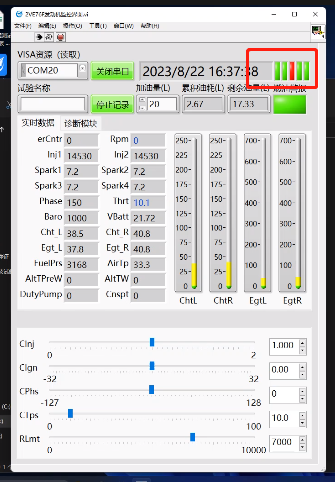
Select the correct port and click "Open Serial Port". The signal light changes from red to green, indicating successful software connection.

Click "Record Data" and the software starts recording the data collected by the ECU.

Simultaneously connecting the MET software of the test bench.
Turn on the control box and put it in an authorized state.
Rotate the ignition switch to eject, and it will be in the "ignition on" state. Press the electric start button to start the engine, and release the start button after the engine starts.
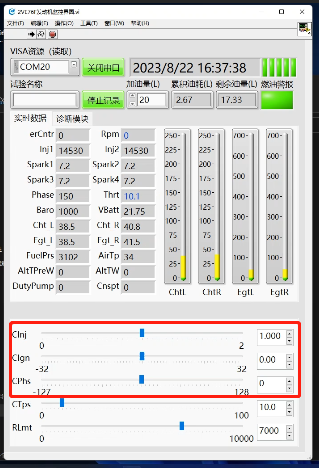
After the engine starts, adjust the throttle opening to 20%.
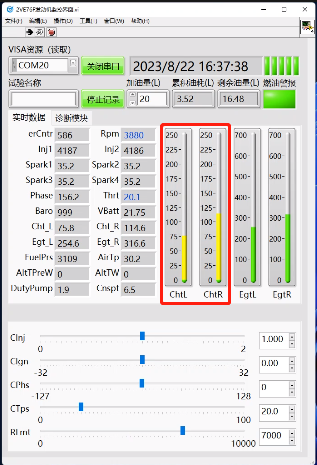
Start warming up the engine and observe the cylinder temperatures of the left and right cylinder blocks during the warm-up process.

Note: When the engine is hot, the throttle is adjusted to 35% within 1 minute after the engine is successfully started, and the engine runs for 3-5 minutes, or when the head temperature of the cylinder reaches 150 ℃ or above, the hot cycle ends.
After the engine is warmed up, the engine RPM speed can be controlled by increasing or decreasing the throttle. For example, slowly increasing the throttle opening until the RPM speed approaches 4500 rpm, maintaining the throttle opening, and the software will continuously record the test data at 4500 rpm.
Complete the testing and turn off the engine.
At the end of the test, adjust the throttle to the "idle" position, meaning that the throttle gradually decreases to 0%.
Press the ignition switch to set it to the "ignition off" state and turn off the engine.
Attention: If the engine undergoes long-term grinding, it is necessary to put the throttle in the "idle" position and run for a few minutes. After the engine cools down, turn off the ignition switch.
After the engine shuts down, confirm that the ignition switch of the engine is in the disconnected state, close the control box, and install hand screws to make the control box in an unauthorized state.
Disconnect the power supply of the starting motor to ensure the safety of the testing area.
The preliminary testing of the CSGI600 engine has been completed.
Thank you for watching this engine testing video!
E-mail: sandy@wing-flying.com
Add.: 7th Floor, B2#,Animation Building, Sino-Singapore Tianjin Eco-City